.

.

Tuesday, November 19, 2013

I'm probably behind and out of fashion, but I'm doing it anyway...

After, like, more than 12 years of working in fabric stores in my teens and twenties, I haven't worked in one for a while now.  Hence, I'm out of fashion.  There's no better way to stay on-trend in the quilting world then working at a quilt shop, and being there on days the product reps come to sell their new stuff...So, I was at a quilt shop, and found this little ruler called a Lil Twister.  Have you seen this?  It's freakin' awesome, and the sales lady demo'ed how easy it was in the store.  I've had it for a while, and haven't tried it yet -- so this weekend, I DID it!  I didn't trust that I'd 1) remember how to use it, or 2) that it would be as easy to use as advertised...but holy cow, IT WAS!!!

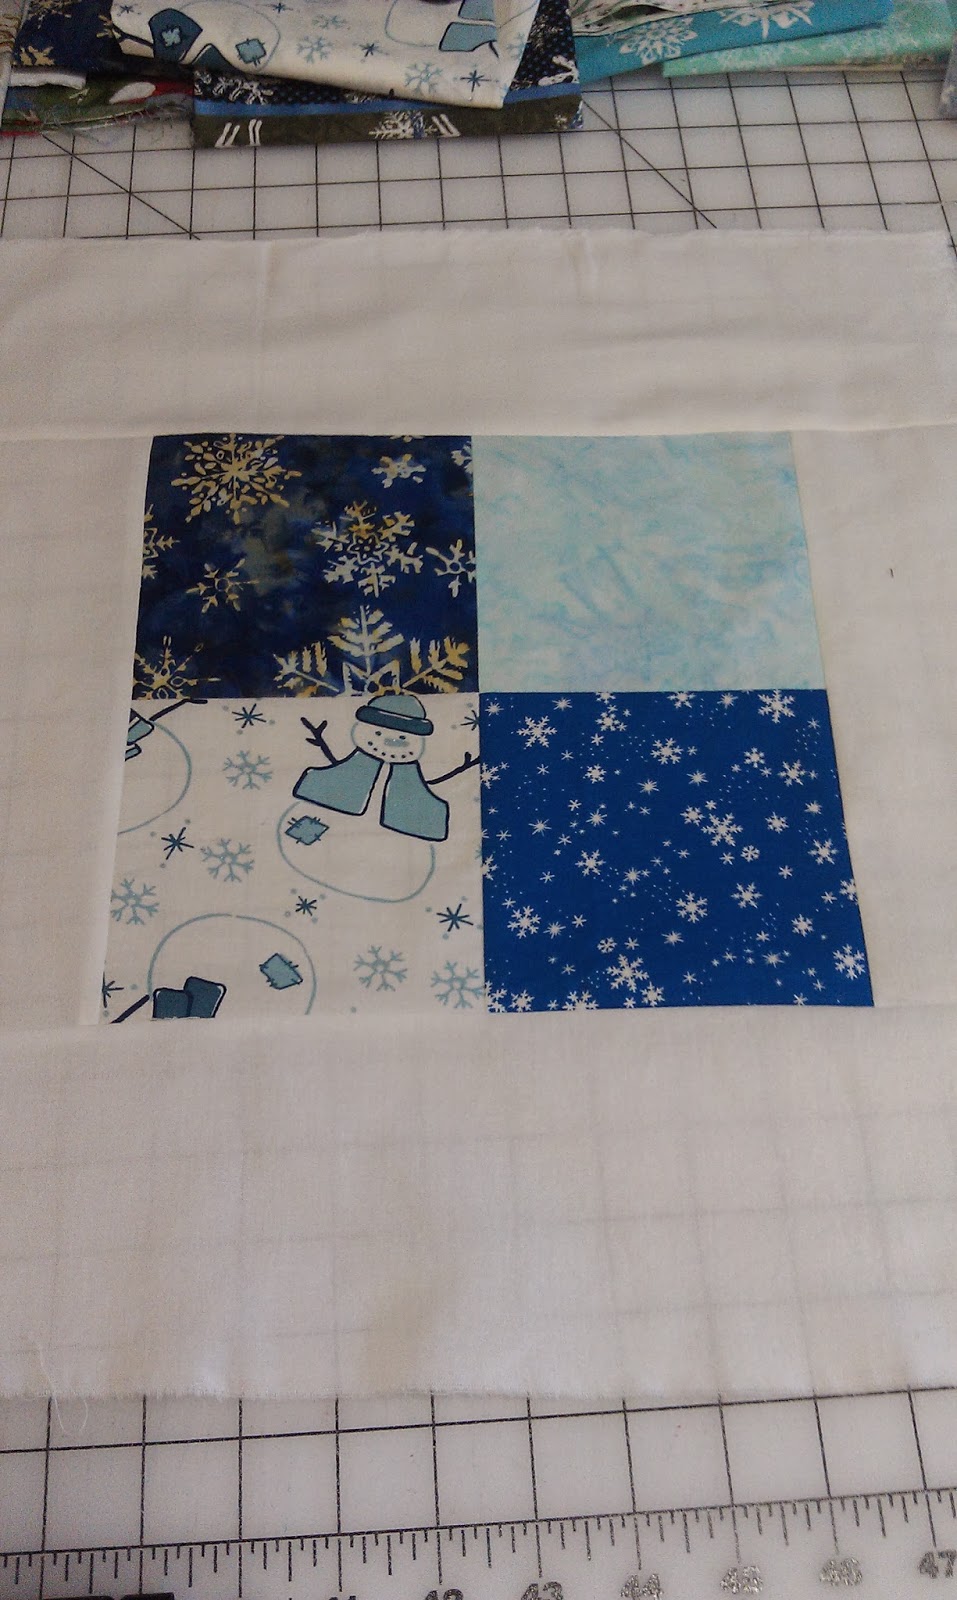
For years I've been inexplicably collecting fabrics with snow and other snow-related items -- snowmen, snow angels, snow scenes...the pile was getting embarrassing large, especially considering I didn't have a CLUE what I was collecting them for.  I mean, how much snow fabric can one woman have?  I was trying to answer that question apparently...The finished little blocks with this ruler looked a little like snowflakes to me, so when I saw the ruler, this is what I planned to use it on -- hack up some snow fabric, and make it seem like I had a plan all along.  HA-HA!  Triumph!

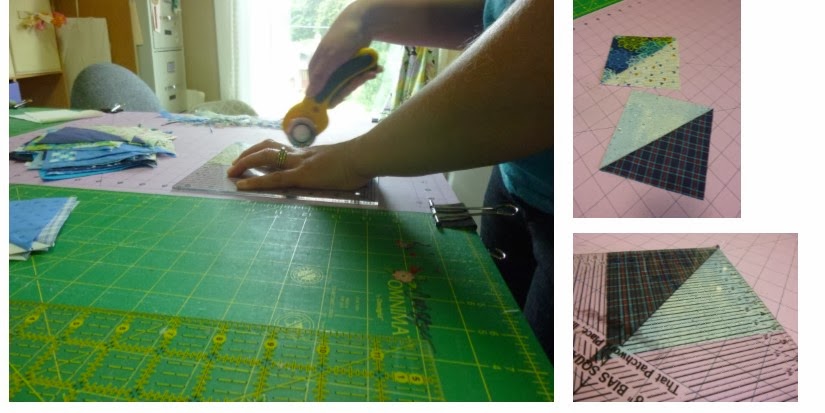
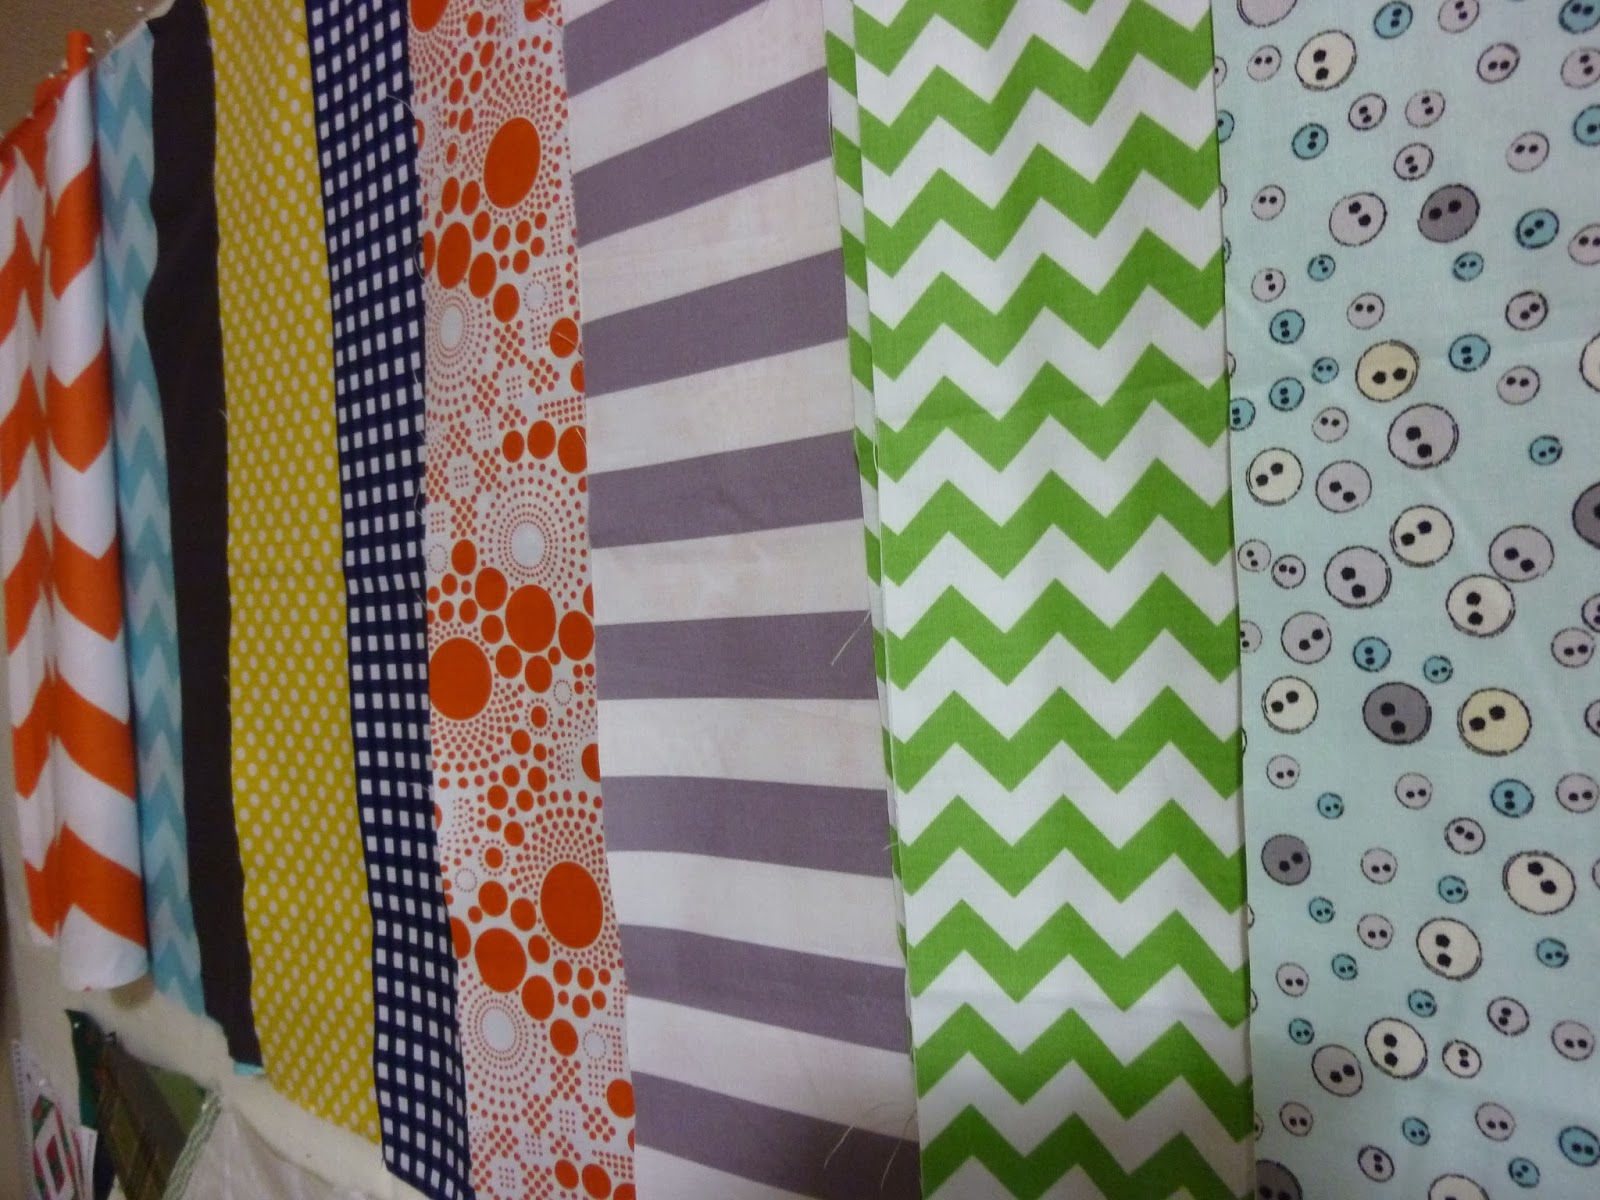
OK, so, first I made 5" square four patches, with a border around the outside.  I had a bunch of different sized white/light solid scraps, so I'm using those up.  The 2.5" strips were a little narrow for this, but the 3" strips are working out better.
Then, I laid the Lil Twister on the blocks I made, lining up its lines, and started to cut around it.
It's important to keep the blocks in order.  This was sort of the hardest part -- sometimes I'm good at organization, and sometimes I'm not.  Saturday, when I was doing this = not so much.  So I had to be really aware...

After a while, your quilt block starts to look like Swiss cheese...When you line up the squares, they start to make this little twist, see it? Then I just sewed them together into a twisty little 9 patch...
Here is my finished block:  
Seriously, I had three blocks in about 20 minutes.  In fact, I made a whole stack of 4 patches, and I plan to keep going...as I said, I have lots of fabric that I didn't have a plan for...Of course, NOW, I have a huge stack of these quilt blocks that I don't have a plan for...well, I'm deciding that that's a better pickle to be in than just fabric.  HA-HA!  Another TRIUMPH!  

I'm telling you -- super easy...and totally from the "I wish I'd thought that up" file...coolest ruler I've seen in a while.

Monday, November 18, 2013

Blue Quilt Tutorial

I had fun this summer making this really fast and super cute baby quilt!  Here is how I did it!

First, I went through my scraps, and cut 5 inch squares of lots of different blues and then lights (or fabrics that read light).  Well, actually, I had my mom cut them.  She was down visiting, and needed a project.  I was afraid if I didn't giver her a project, like cutting  these squares, then she'd find HER OWN project, and rearrange my kitchen or something...this was a good project, because then we got to chat while we played with fabric -- perfect!  

Anyways, then I paired up a light with a dark, and on the back of the light, I marked a line from corner to corner.  I sewed 1/4" to each side of that line.


 I had some leftover triangles from another project, and I used those, too -- I overlapped them just a smidgen along the line that I'd drawn on the back of the light square, and then stitched them, too!


 Then, I cut them down the drawn line, making a whole stack of a bunch of half-square triangles, which I then pressed really good.
 Then I began the somewhat long process of squaring them up.  This is the beauty of making HST this way, I think -- I can square them up and make the perfect.  I squared them up to 4.5 inches...

 Then, I put them up on my design wall.  I LOVED the stars that were created in this arrangement, but it was still kind of small, I felt, and I wanted to it be a good baby quilt size.
  
So, I just happened to have some blue fabric in my stash that went pretty well with all the scrappy HST, so I put that in between as sashing to see if I'd like it.  I did -- but I decided to do only in one direction, so I still had these long strips of triangles.  
But of course I only had enough of the sashing blue for the sashing, and not for the top and bottom borders, so I found ANOTHER piece from my stash for the top and bottom borders. Murphy's law, right?  This is what comes of not having a real pattern and just making stuff up on the fly...


 I like it so well, I made a pink version, too -- just to keep with those traditional baby colors, you know...apparently I'm all about perpetuating stereotypes...but it's a fun, FAST quilt, and a great way to use up scraps.  I plan to do more in other colors -- when I'll do, I'll post pictures here.


Friday, November 15, 2013

Quilting TIP!

A while ago, I took a machine quilting class from my friend, Margie Horton, and she recommended this GREAT TIP!!  Before you quilt a project, use car wax on your sewing machine and extension table.
Use the sponge that comes with the car wax to apply it to your surface.  Let it get dry.

Use a scrap piece of batting or a cut-up old t-shirt to buff the car wax off.
It's cheap for a huge container of car wax, and it creates a super slippery surface for both walking foot and free motion quilting.  The quilt just slides right over and doesn't seem to get as hung up on things.  Some people I've recommended this to are concerned about the car wax damaging their quilts.  But, in my experience, if you buff the wax off REALLY REALLY GOOD, there's no product left -- only the slipperiness.  (Is that a word?  I hope so...)

Happy Quilting! :)

Thursday, November 14, 2013

Thinking, thinking, thinking...

The 6 fabrics for the Modern Quilt Guild's Riley Blake Challenge (plus a couple other RB fabrics from my stash) are hanging on my design wall, just waiting for inspiration to hit...

So far, only one idea...I think my problem is there's no purple, and EVERY quilt must have purple, in my opinion... I'll keep you posted.


Thursday, November 7, 2013

Tree skirts tree skirts tree skirts...

I'm liking how my two new tree skirt pattern samples are coming.


Loving the colors, too!!
This one is pinned and ready to go...
This one I still have a couple rows to go...


I will quilt them, photograph them, and get the pattern up onto my etsy site -- it will be available for digital download soon! :)

Tuesday, November 5, 2013

It's getting there...

I'm making progress on this little low-volume baby quilt!!
I've decided it needs white borders, even though I'm not a huge fan of borders.  BUT, that will make it a little bit larger.  I'm so pleased with the color combo and all the white.  And it needs rick rack, so stay tuned...

I'm sensing a theme...

Apparently I'm in a half-square-triangle kind of mood...three different projects, all HST.  How funny!!

Monday, November 4, 2013

Jane is WELL!!

Look Look!  My Jane is back!  

(That is my sewing machine's name.  She was like a Cabbage Patch Kid, and came with a name -- Jane Babylock.)  She is home and working  -- no parts flying off so far.  She is keeping my other machine (who did not come with a name, but I refer to as Trusty) company.  To be honest, I'm afraid to quilt with Jane quite yet, so I'm simply piecing...But it's so nice to have her home!!